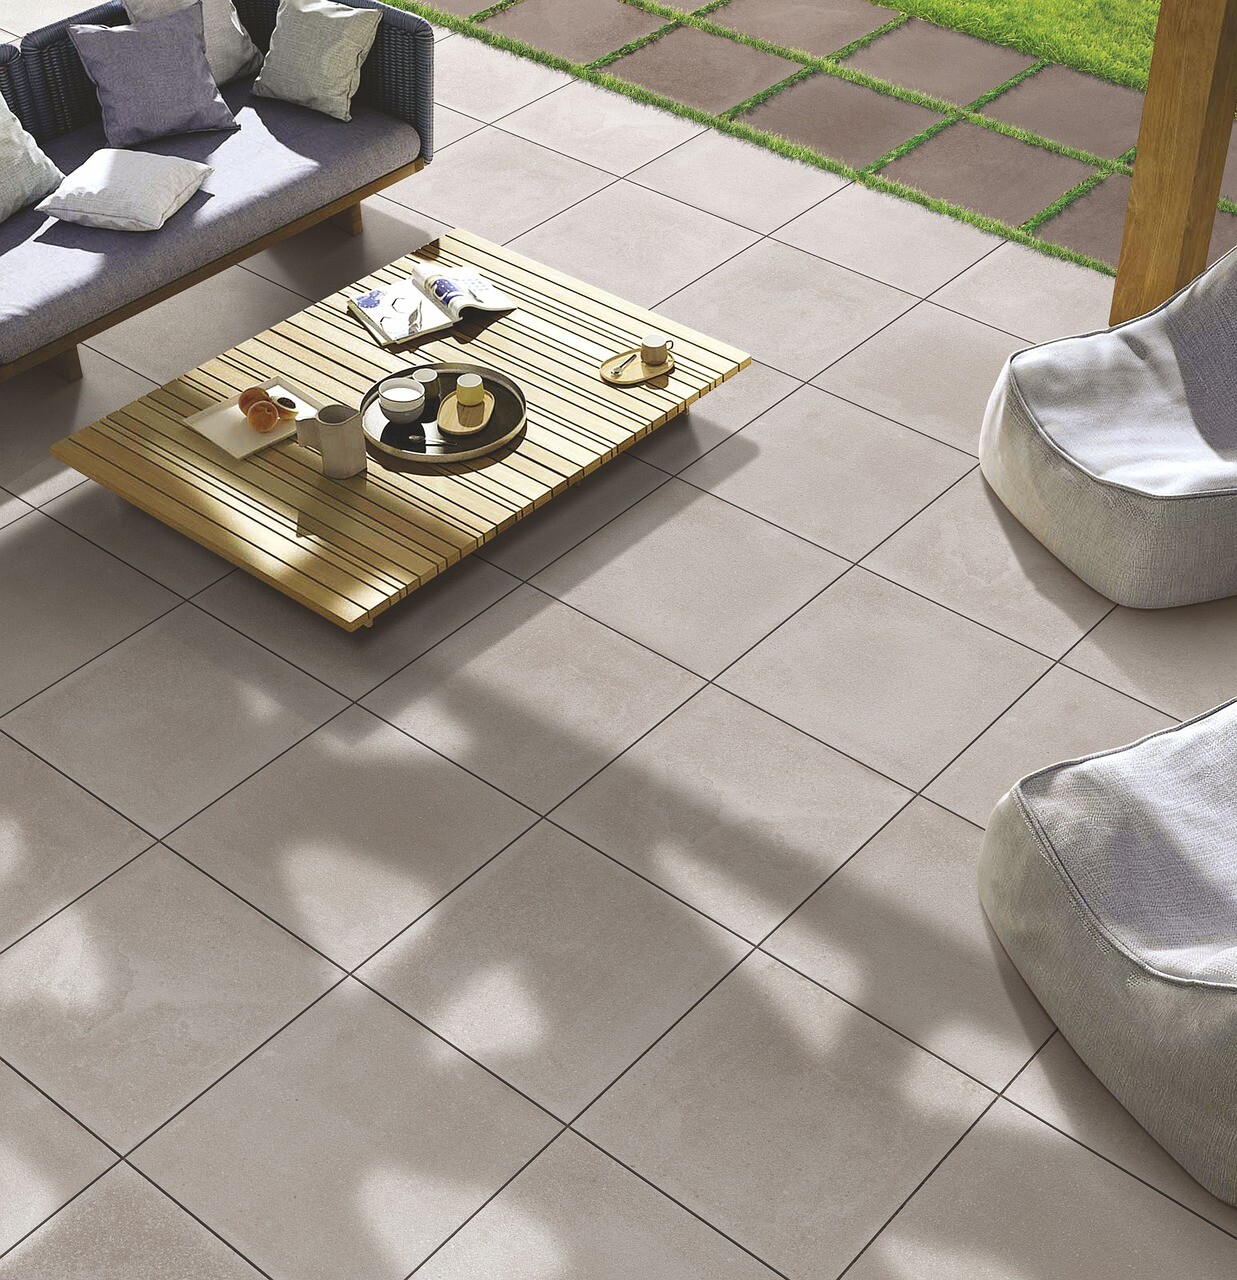
Porcelain paving slabs are a popular choice for outside areas, from patios to pool surrounds. They’re incredibly hard wearing and the latest stone-effect finishes are very realistic; in fact, it’s often hard to tell the difference between a natural and an ‘engineered’ tile.
As well as offering practical and aesthetic benefits, porcelain requires little maintenance – but it isn’t maintenance-free. Tiles with a textured, matt finish don’t need to be sealed, unlike natural stone. However, their textured finish which provides that all important grip under foot can create challenges during installation. Grout and brush-in joining compounds tend to get stuck in the tile’s high/low surfaces, along with general dirt and residue. This creates a white film on the surface of the tile and, as the texture is lost, the slip resistance is also compromised. Sometimes an unnecessary coat of stone sealer is then applied over the top and the residue becomes sandwiched between the tile and the sealer. If the tile is damp when the sealer is applied, this can also cause the surface to become opaque.
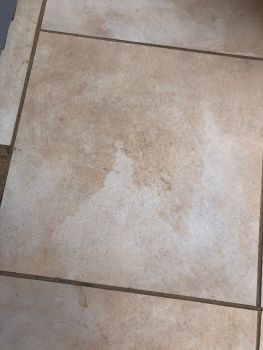
A resin stain on a porcelain tile, close-up.
New installations - creating a barrier against grout residue
As mentioned, unlike natural stone pavers, textured matt porcelain paving slabs don’t need to be sealed. (The only type of porcelain that does need sealing is a tile with a polished finish but these aren’t suitable for outdoor use.) However, we strongly recommend application of barrier treatment – LTP Porcelain Tile Protector – before the tiles are fixed into place.
LTP Porcelain Tile Protector is non-film forming and won’t change the appearance of the tile in any way - but it will help to prevent staining during installation by creating a barrier across the base of the textured surface. It also makes it easier to remove residues and improves/increases grouting working times, for a faster and easier installation. A final coat after installation also makes ongoing maintenance easier too; it doesn’t seal the surface – it has a completely different formulation to a sealing product – but it penetrates into the fissures of the textured tile and leaves active ingredients behind which make removal of residues easier.
https://www.youtube.com/watch?v=t7d974aBMcQ&t=1s
How to apply LTP Porcelain Tile Protector
- Ensure that the tiles are completely clean, dry, and free from dirt, grime, cement, and grout. If necessary, wash the surface first with a dilute solution of LTP Grimex – diluted 1:5 - and scrub with a white nylon pad. Rinse well to remove residues and leave to dry.
- Shake the bottle of Protector before use. Before grouting, apply evenly to the surface using a broad paint brush, foam roller or light pressure sprayer. Allow to dry for 30 minutes. Apply a second coat. Leave to cure for a minimum of 1 hour before grouting or pointing.
- Once the joints are dry, and residues have been removed, apply a further coat of protector over the face of the tile and the joint.
Existing installations – how to remove grout residue
For tiles that are stained with grout and brush-in jointing compound, we recommend LTP Solvex. Powerful, but non-caustic, the Remover softens residues – including epoxy, acrylic and silicone from brush in jointing compound – making removal easy.
How to apply LTP Solvex
- Shake the bottle before use and, before applying across the whole surface, test on an inconspicuous area.
- Apply generously by dabbing or rolling onto the tiles, working in manageable areas.
- Leave for up to 30 minutes. If the tiles dry out within this timeframe, apply a little more solution to keep them wet.
- Use a stiff short haired brush or nylon scrubbing pad to remove the softened residues from the surface. Add a little water and scrub again.
- Extract the released residues using a sponge or wet vac and rinse with water. Repeat the process if unwanted material remains.
Once the residues have been removed, we recommend application of LTP Porcelain Tile Protector, as it will make ongoing maintenance of the textured surface far easier.
https://www.youtube.com/watch?v=t0xBP-Kq74c&t=2s
Ongoing maintenance
Just like indoors, outdoor tiles will benefit from a periodic clean. Keeping the surface relatively clean will prevent a build-up of dirt in the textured surface. This, in turn, will make ongoing cleaning easier and will maintain the tile’s slip resistance.
Jet washing may seem like the best method for a fast clean but it will only wash dirt off the surface of the slabs. High pressure water will also damage grout joints. A specialist treatment, on the other hand, will react with the dirt and organic matter, and will help break it down.
We recommend LTP Grimex. Just add one capful per litre of water, mop the surface and leave it to dry. There’s no need to rinse; unlike general household cleaners, this treatment won’t leave a slippery residue.
As a general rule of thumb, it’s worth cleaning porcelain paving every couple of months or so – ideally, three times during late spring/summer and twice during the winter. Surfaces that are regularly cleaned will be far easier to keep clean. Regular cleaning of inside-to-outside surfaces, like those that run through bifold doors, will also help maintain a seamless aesthetic.
For more advice and information about other LTP cleaning and sealing solutions, please visit https://www.ltp-online.co.uk or contact the LTP technical team on 01823 666213 and email [email protected]


