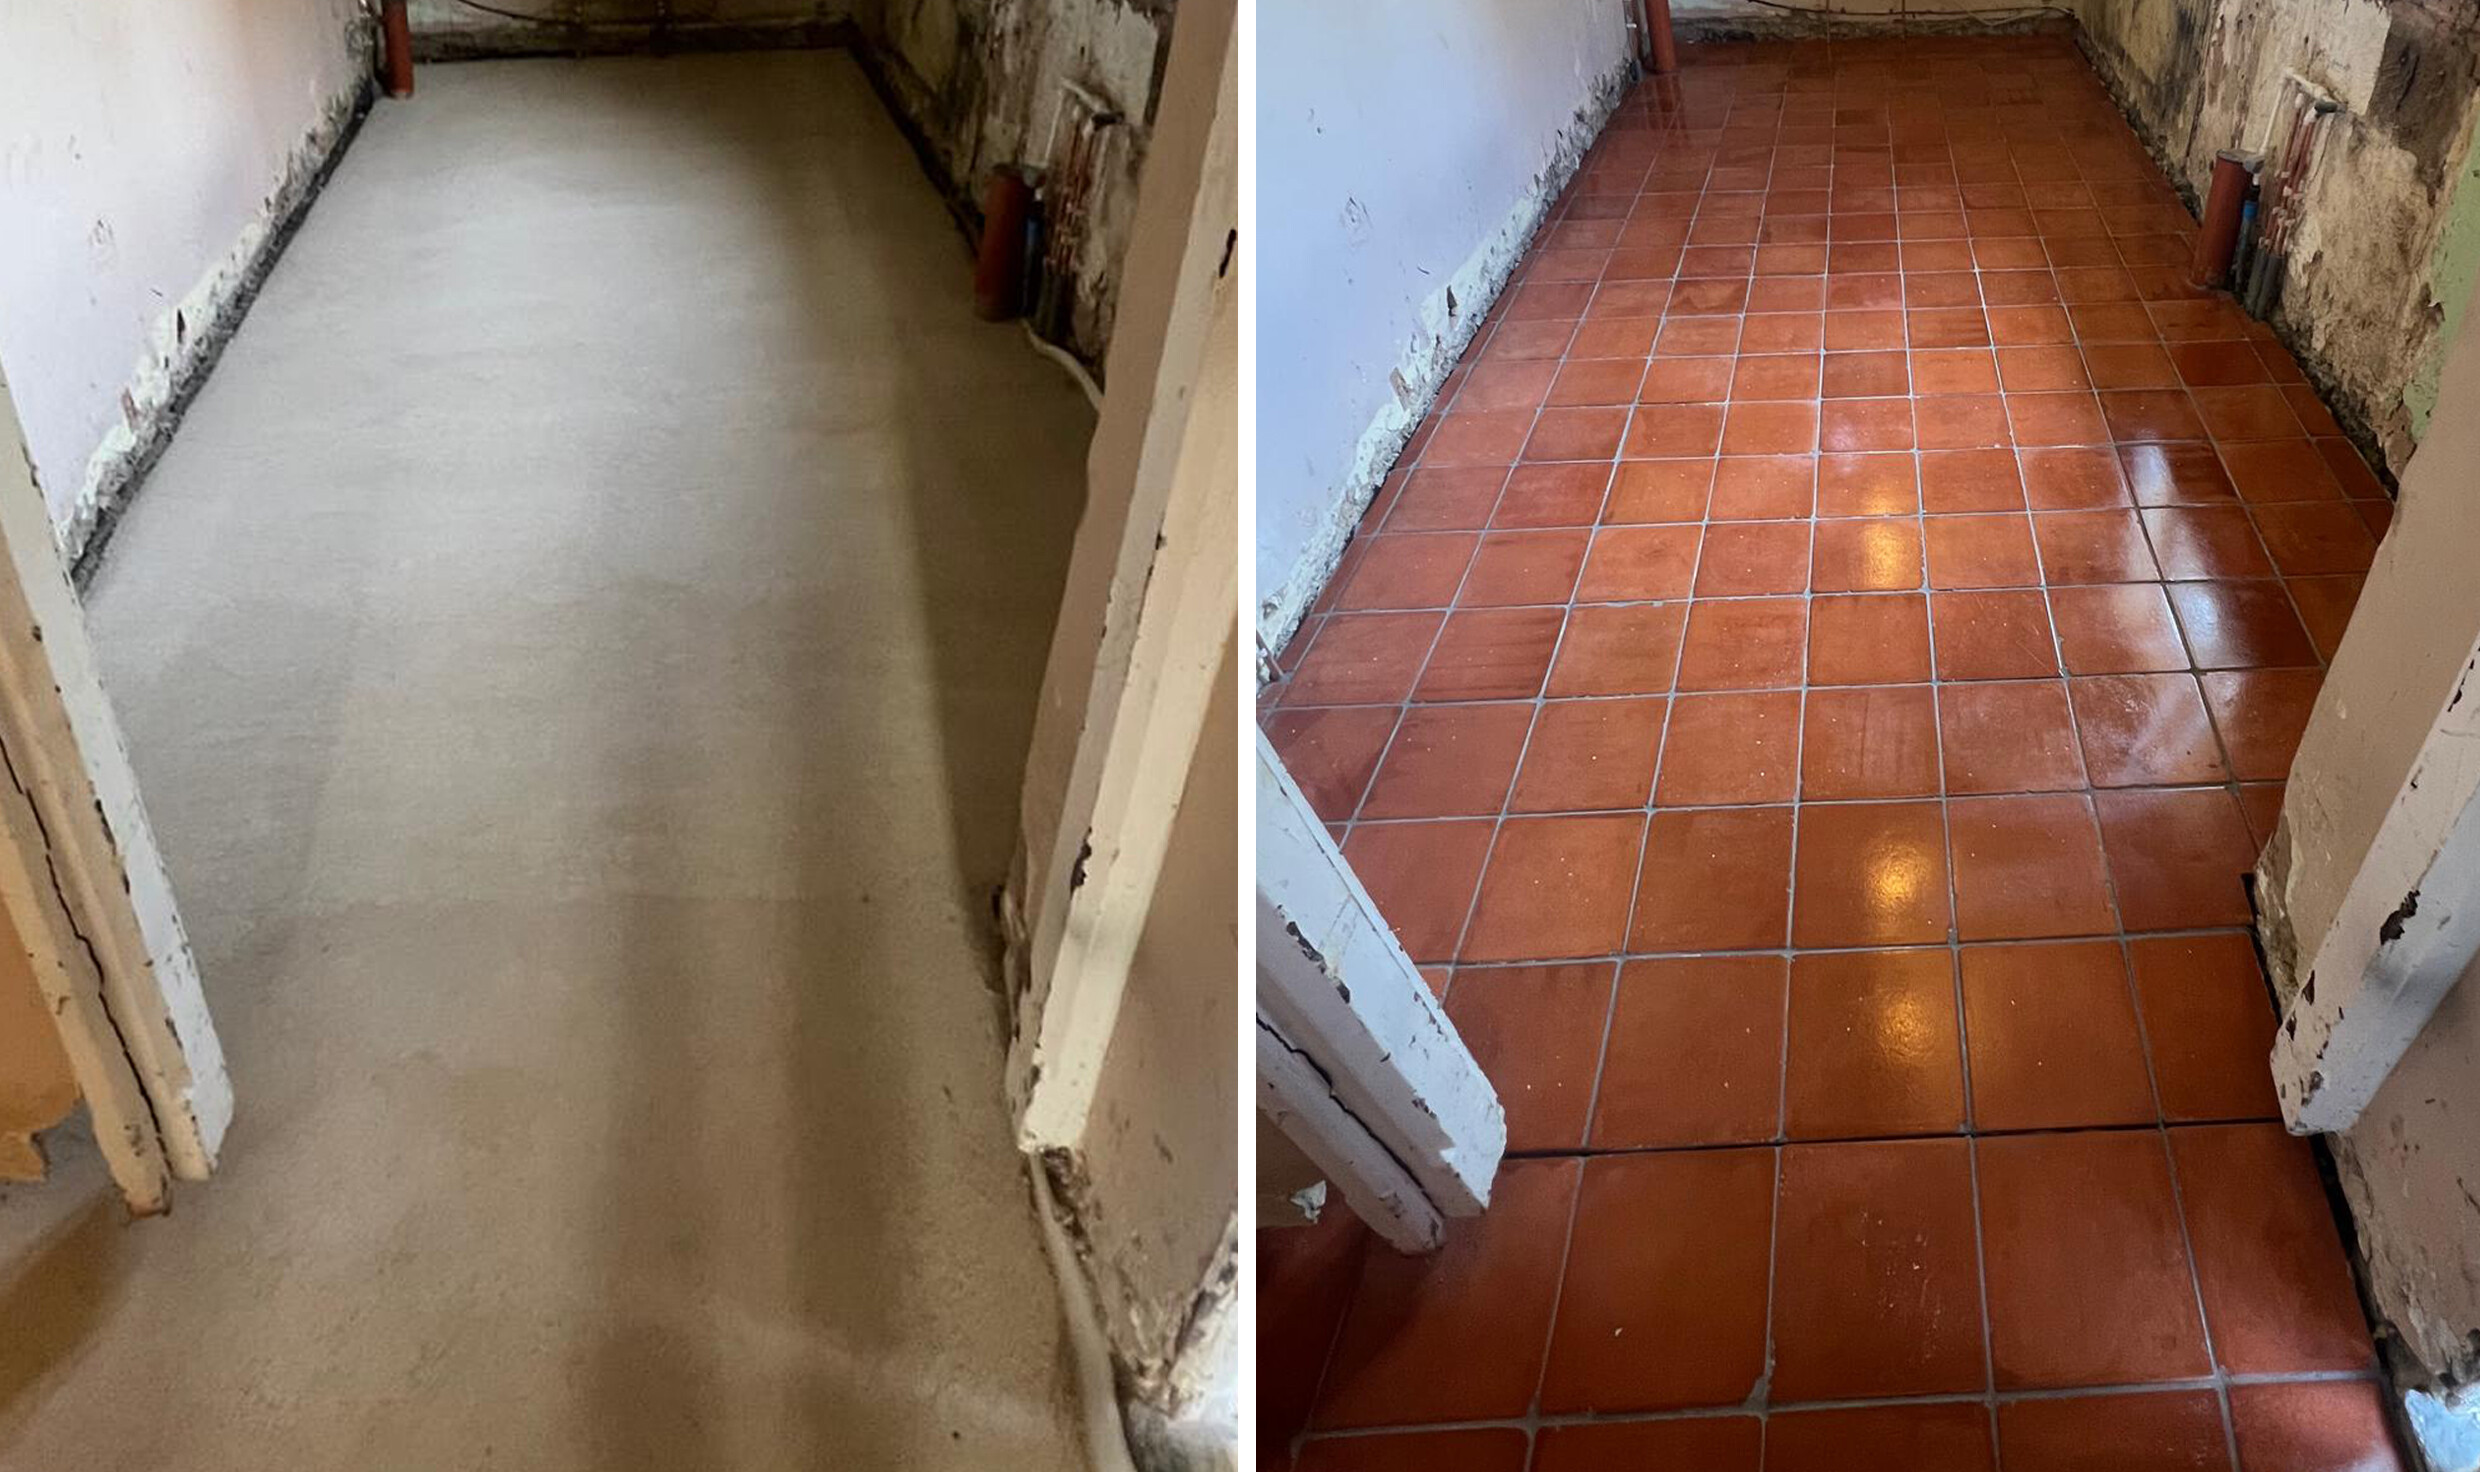
Before and after installation
Terracotta has proved itself to be a timeless tile. Whilst it took a bit of a back-seat to bright limestones, marbles and wood-effects for a time, the enduring trend for natural, rustic materials has re-ignited its popularity. Evolving in look, the latest designs include geometric patterns, motifs and elongated rectangles, in pale blush, peach and coral tones, through to ruddy brown. But, traditional handmade terracotta tiles, both new and vintage, remain a firm favourite in all styles of property.
The installation of new terracotta is generally fairly straight forward, provided that the subfloor is sound and that tiles are correctly protected using a traditional or synthetic system. However, more challenging projects demand expertise, particularly installations within older properties constructed using traditional building methods. We were delighted to be involved in one such project within a rural cottage in the Chilterns, with Walter Croft from Victorian Tile Services. Walter is a third-generation tiler with 30 years of experience restoring and installing original Victorian tiles and high-quality reproductions.
The Cottage
Dating back to the 1860’s, the cottage is a two-storey property constructed of brick and flint. The family that owned the property are believed to have connections to Statesman and former Prime Minister, Benjamin Disraeli.
Walter Croft was contacted by the owner through a heritage magazine; he had previously approached various companies regarding damp proofing the floor and walls. Because the walls are largely constructed using flint, an effective damp proof course injection system wasn’t deemed effective or desirable, so the owner opted for a lime screeded floor, with a piped underfloor heating system (to comfortably heat the downstairs bathroom, hallway, utility, kitchen and lounge) and a 9-inch x 9-inch handmade terracotta tile throughout.
The tile installation spanned approx. 60m2. Walter used Adhere Cal Lime adhesive and grout, comprising natural hydraulic lime (NHL), aggregates and additives. A wide joint allowed the minimal amount of damp to breathe through the grout line and this solved the issue of not having a damp-proof membrane.
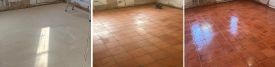
Before, during and after installation
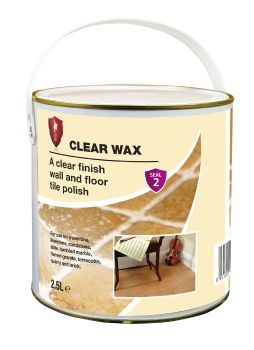
Once the tiles were fixed, Walter applied two coats of LTP Boiled Linseed Oil to the surface of the terracotta, allowing 24-hours between coats. Once cured, two further coats of LTP spirit-based Mattstone were applied to the surface of the tile. Finally, a generous amount of LTP Clear Wax was applied with a soft cloth and, twenty minutes later, buffed with a machine, with corners buffed by hand.
“My client was really happy with the overall effect and didn’t expect such a dramatic enhancement once the beeswax was polished in. It transformed from a matt brown to the appearance of a glossy conker, whilst retaining grip underfoot. The LTP system was easy to apply and I’m delighted with the end result – and with the level of protection afforded in this very unique property,” Walter explained.
For more information, please contact LTP on tel. 01823 666213, email [email protected] or visit www.ltp-online.co.uk and Victorian Tiles Services at www.victoriantileservices.co.uk


